SVG stands for Scalable Vector Graphics and have been around for the last 20 years, created in 1999. One of the best advantages about SVGs are that they maintain their resolution no matter how large or small they are, and are great to use for logos, or small icons.
In this article, I am going to show you how to create an svg animation. I will show you everything step by step, what tools you need, a couple of screenshots, everything you need to know to make it happen. In about 30 mins, you will have a new skill you can show off to your friends or to dive deeper and build more svg animations in the future.
This is what an svg code looks like: <svg width="200" height="200" xmlns="http://www.w3.org/2000/svg"> <image href="mdn_logo_only_color.png" height="200" width="200" /> </svg>

If you want to read more about SVG images, I highly recommend mdn web docs, very detailed and well organized docs.
Tools Need
- Figma (Free Version) - a design tool that we are going to use to: create a Figma account here
- Visual Studio Code - code editor to do our css and html, click here to download
We are going to be using a free and open source SVG illustration library called unDraw.
Okay, Let’s Get Started.
- Once you are finished getting all the tools you need. Go to unDraw and search ‘vintage’ and you should find this illustration and download the SVG image. It will look something like this:

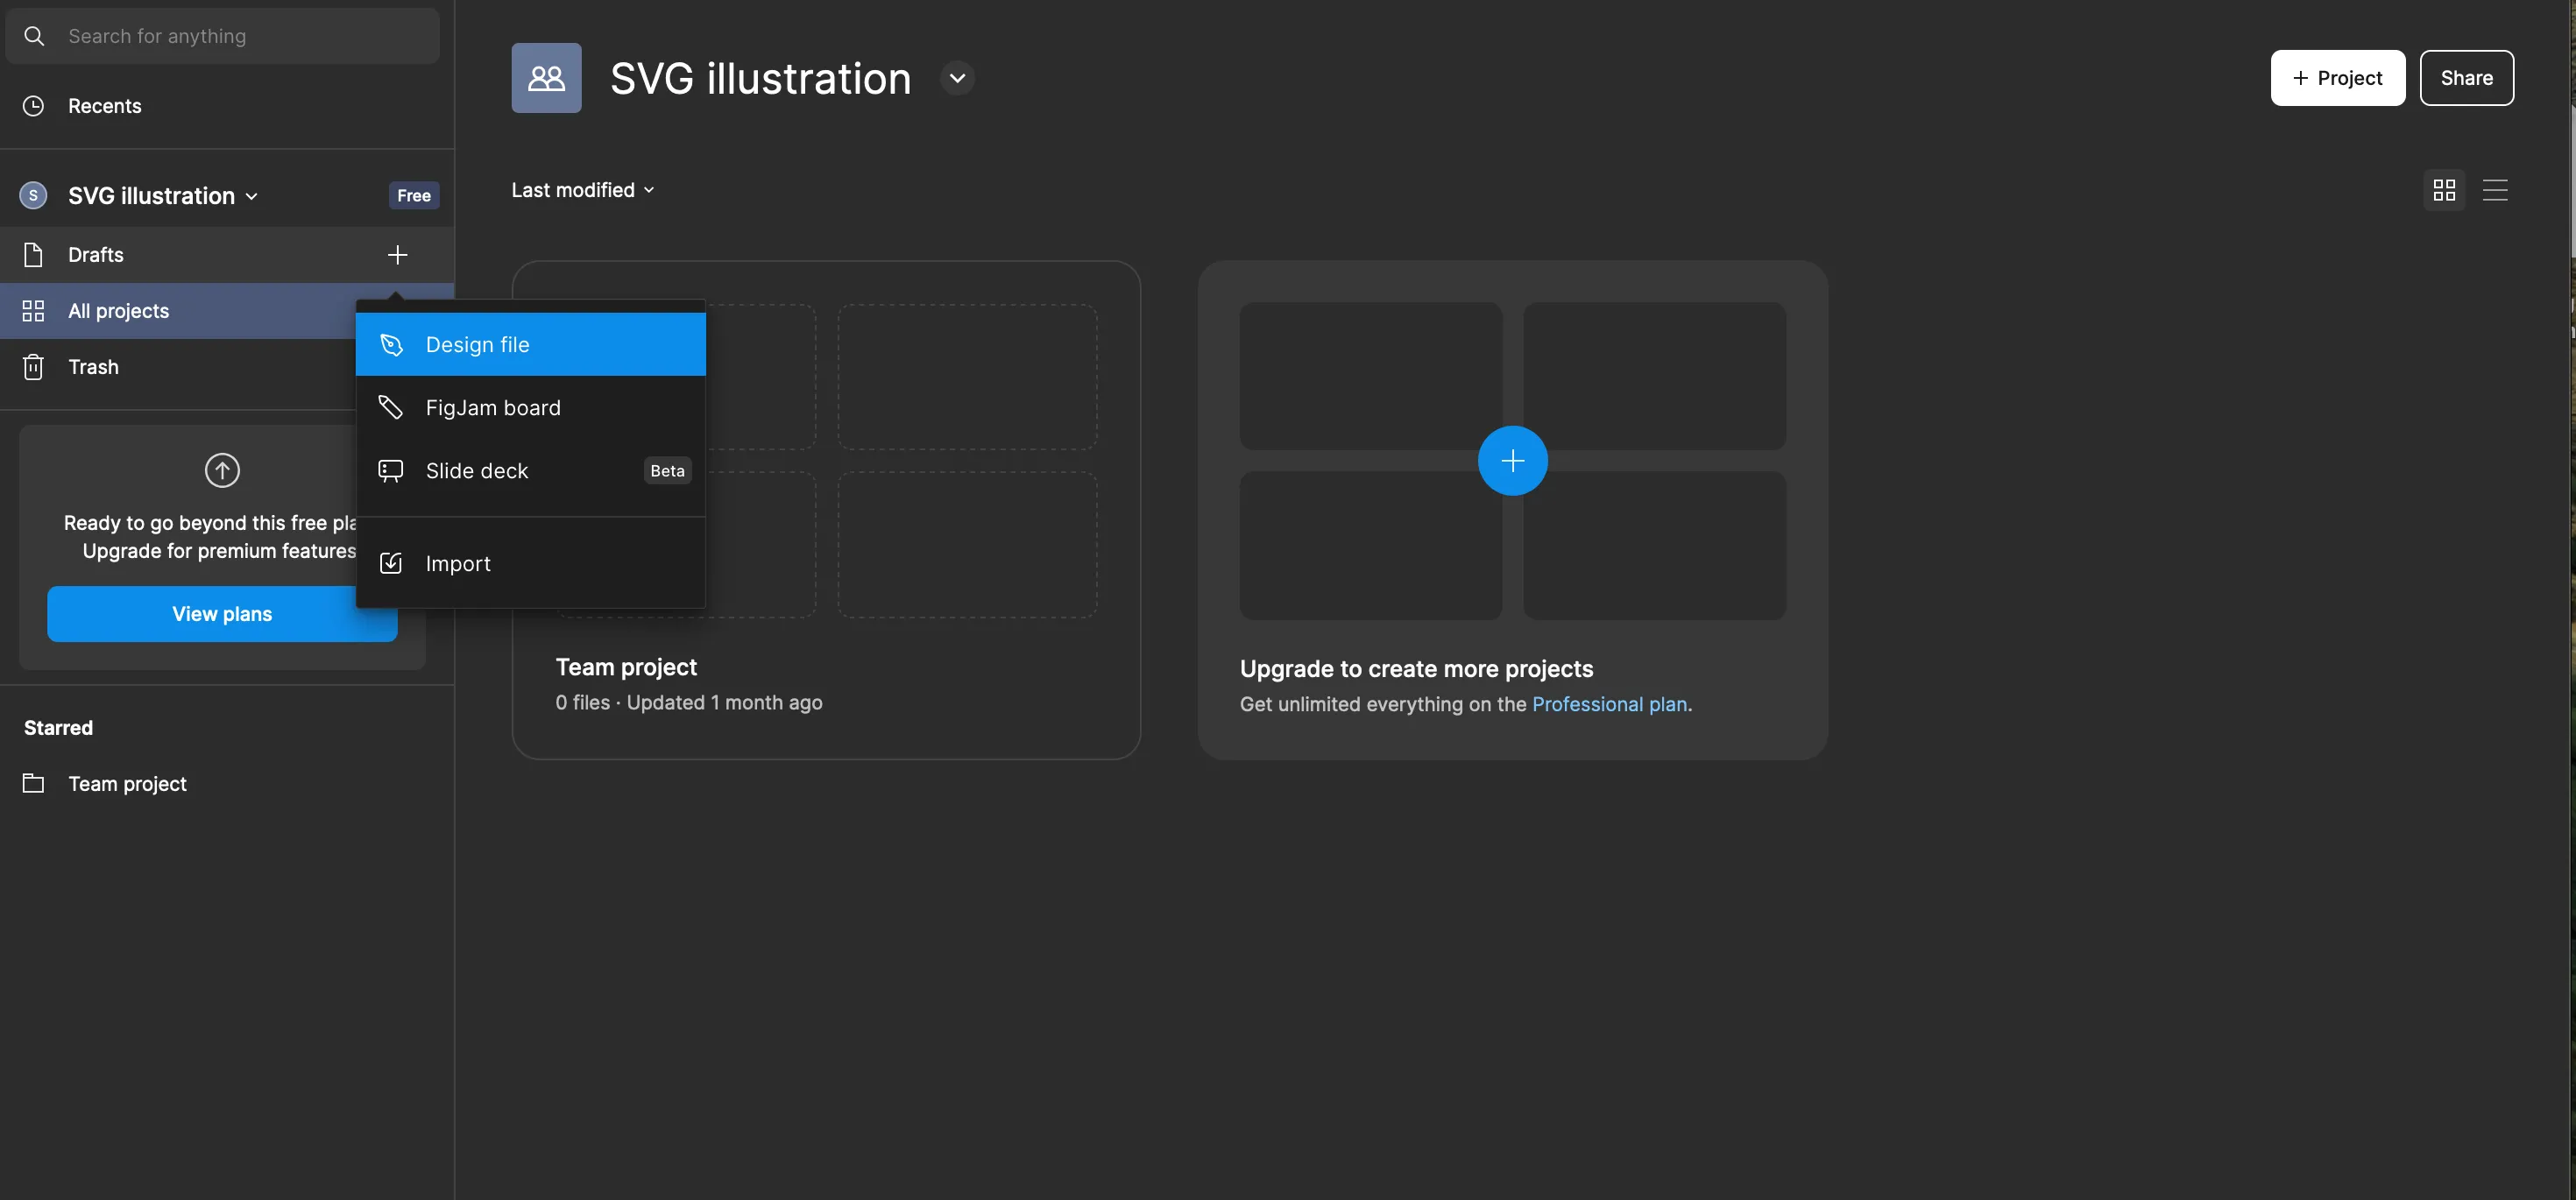
- Go to Figma in your broswer, login and you should see this interface. On the left-hand side, create a new file, by clicking the ’+’ symbol, and clicking on design file.
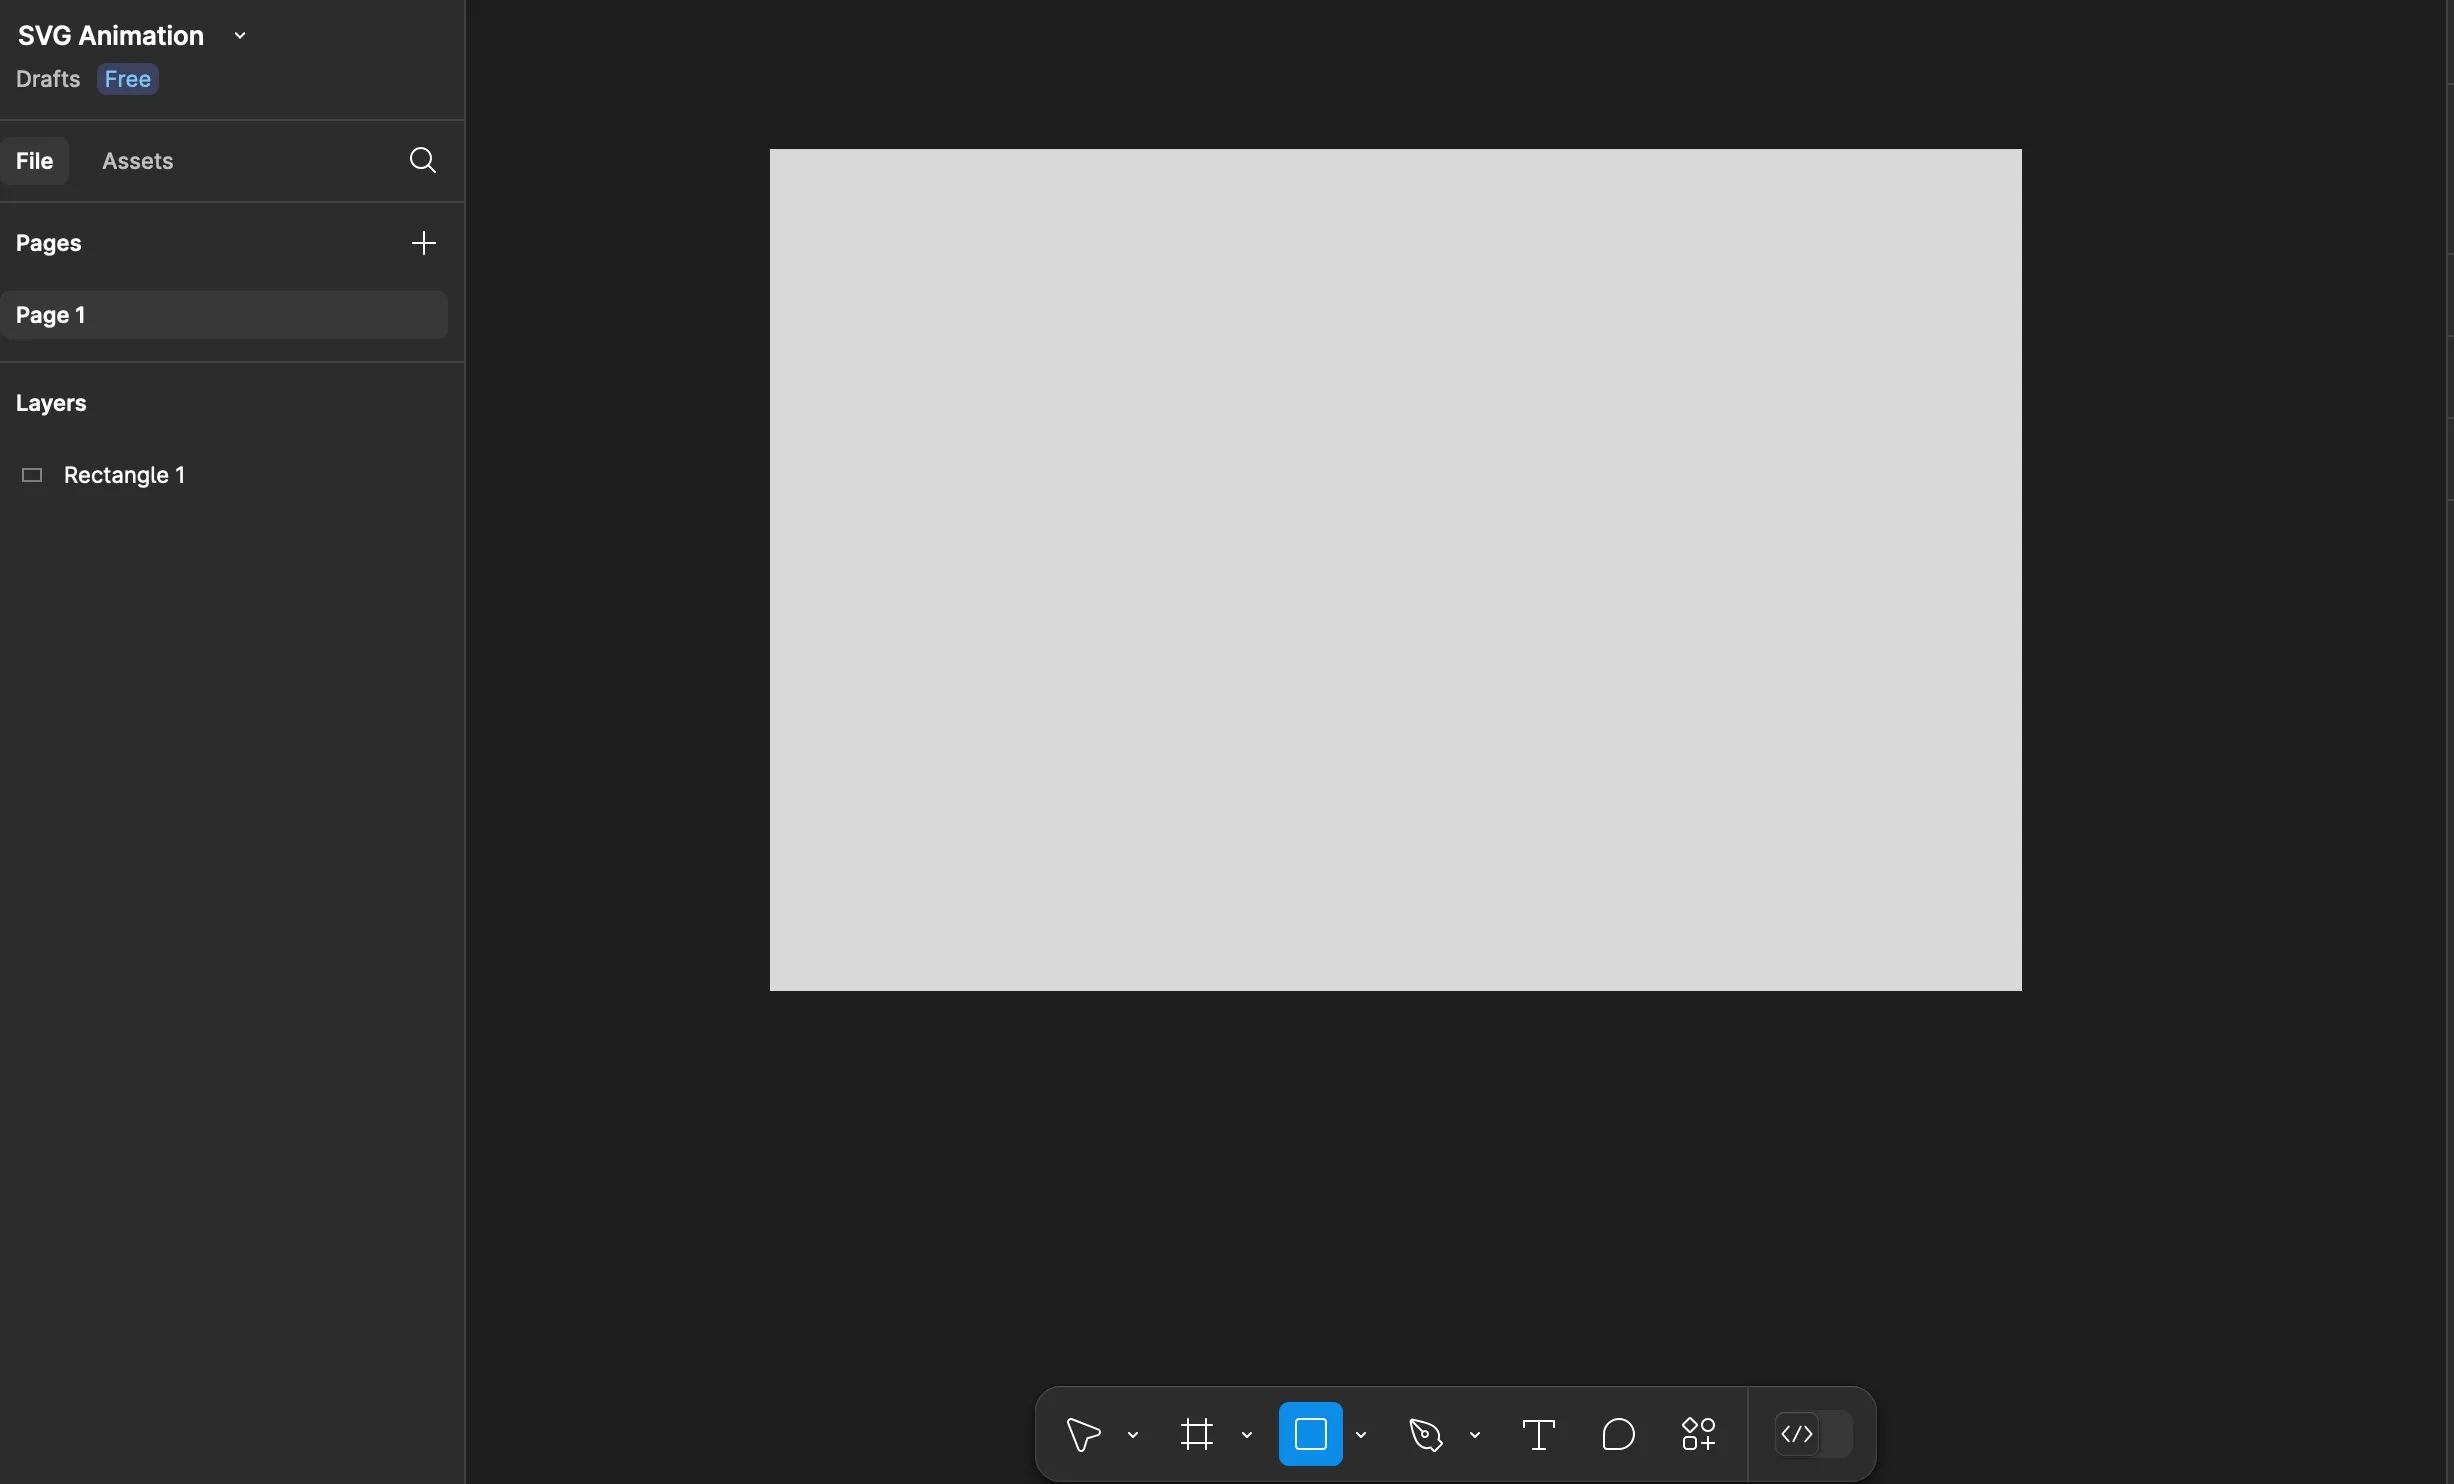
- Create a rectangle in Figma using the design dock at the bottom of your screen.
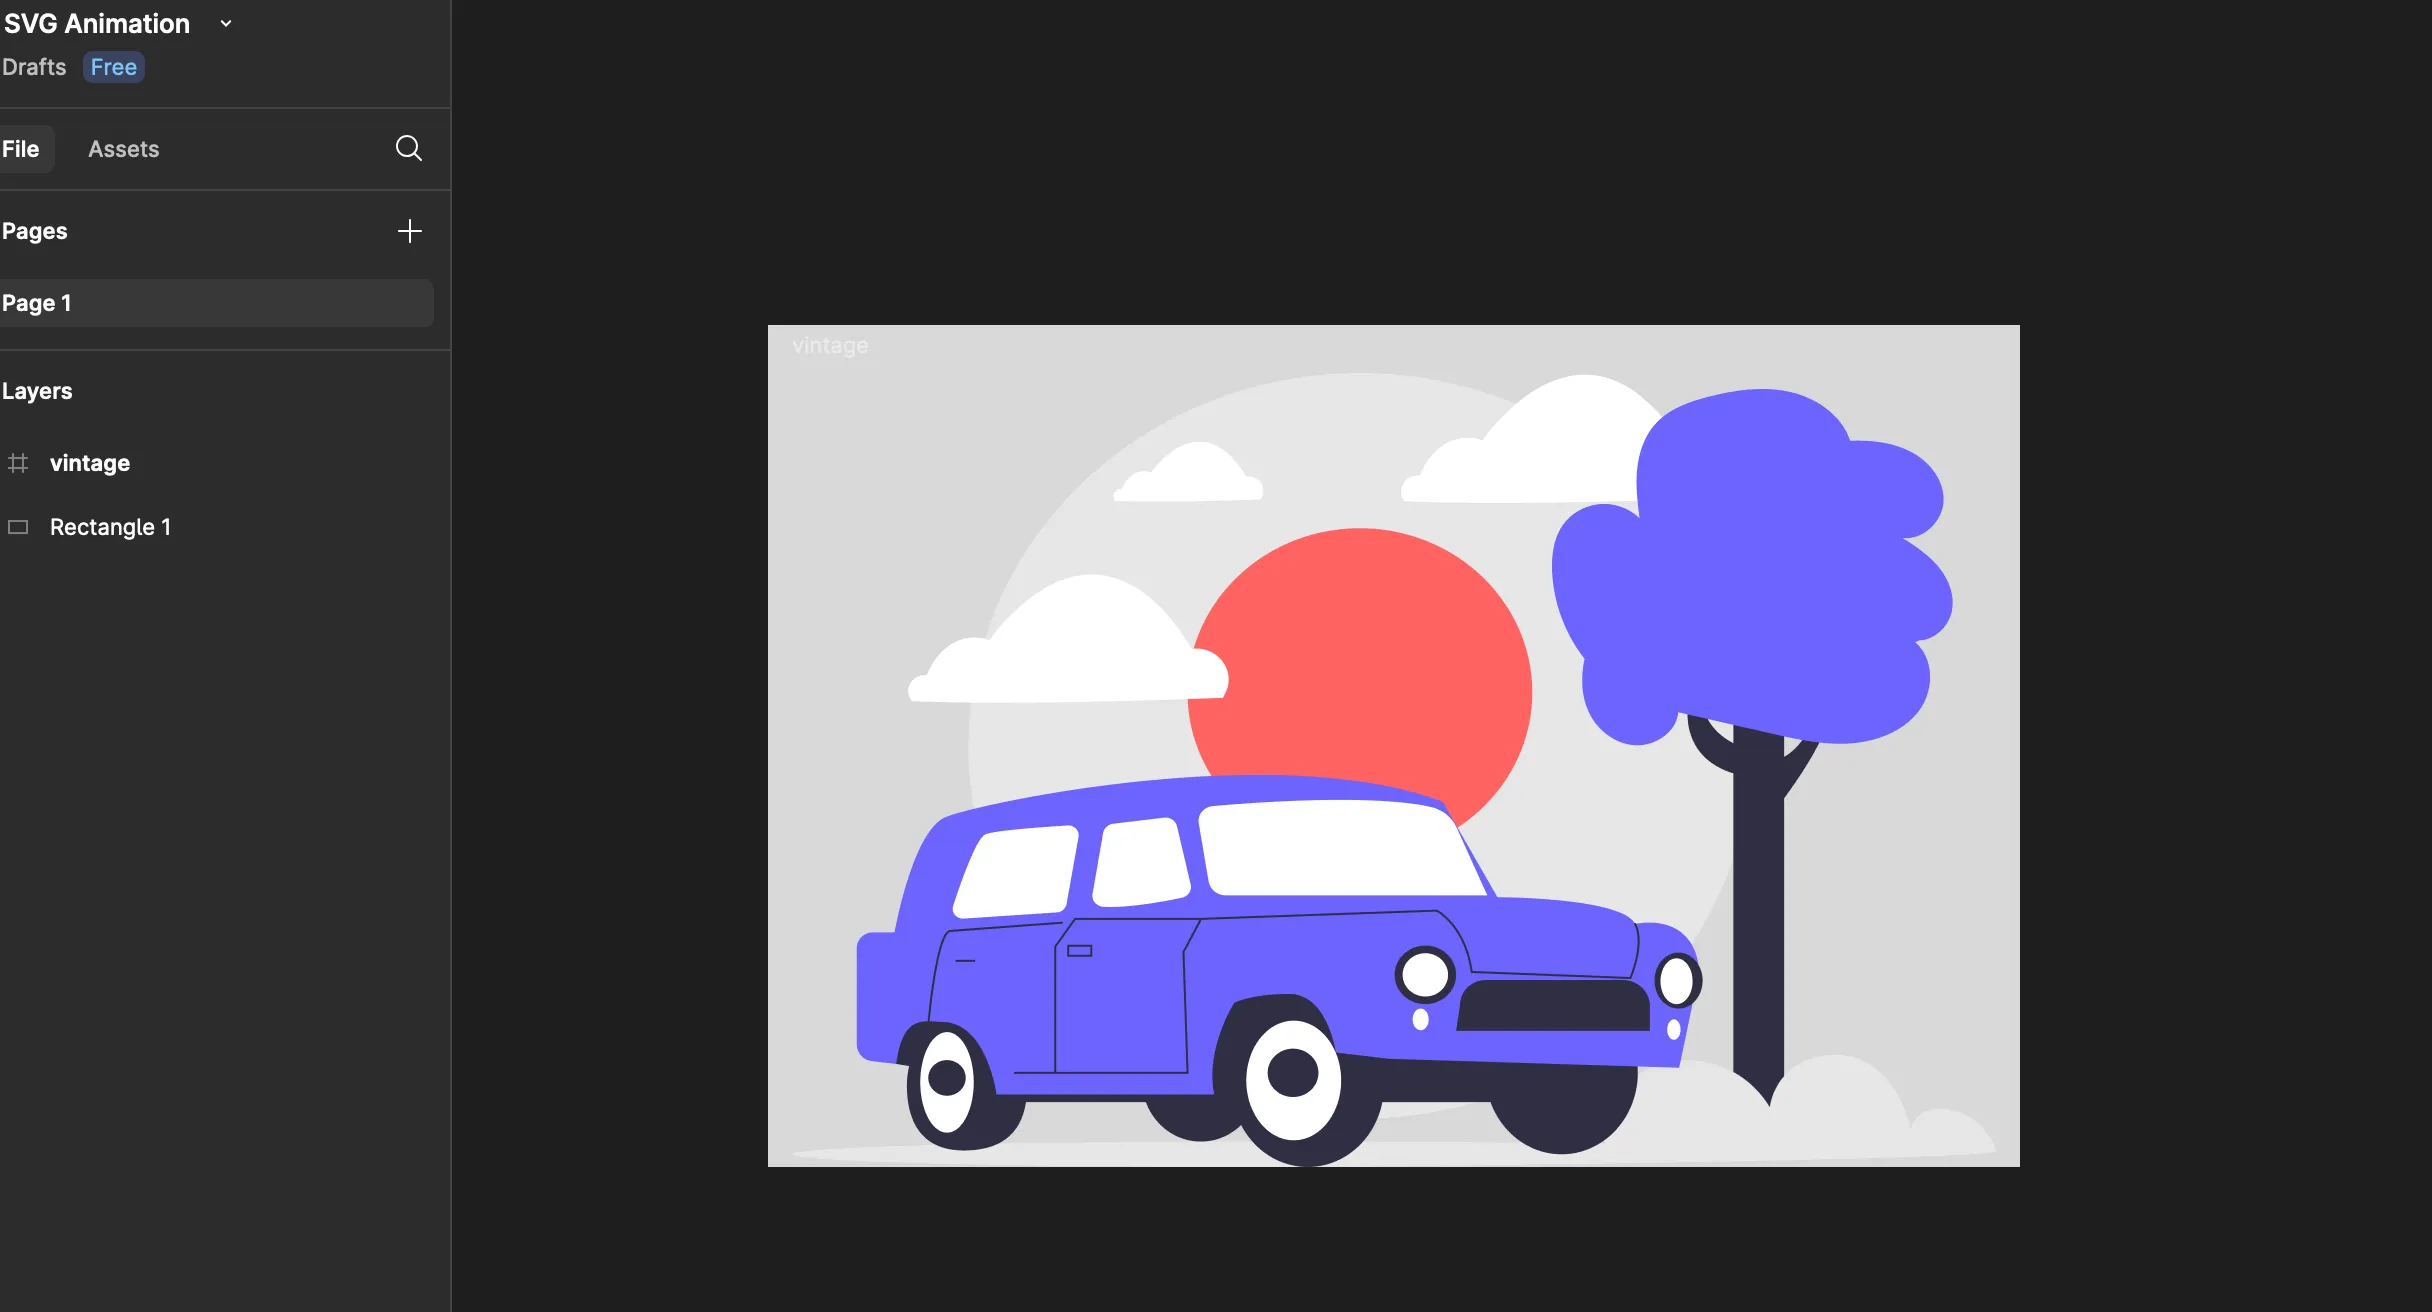
- Rename your downloaded SVG image to vintage.svg. Next, Drag and drop your downloaded SVG image from unDraw into Figma on the rectangle canvas and resize ‘vintage’ image to fit within the container.
-
For this demostration, we are only going to animate the clouds in the SVG. To Select multiple elements, hold down Shift + Click. To group elements, hold down CMD + G on a Mac and CTRL + G on a Windows.
-
Once you are done grouping the clouds into group, your display should look like the image below. We are halfway there. Now we are going to export our SVG image, and prepare to start animating.
Side Note: What makes Figma so cool is when you export SVG images, Figma can add css selectors to your elements, making it much more easier to animate in css.
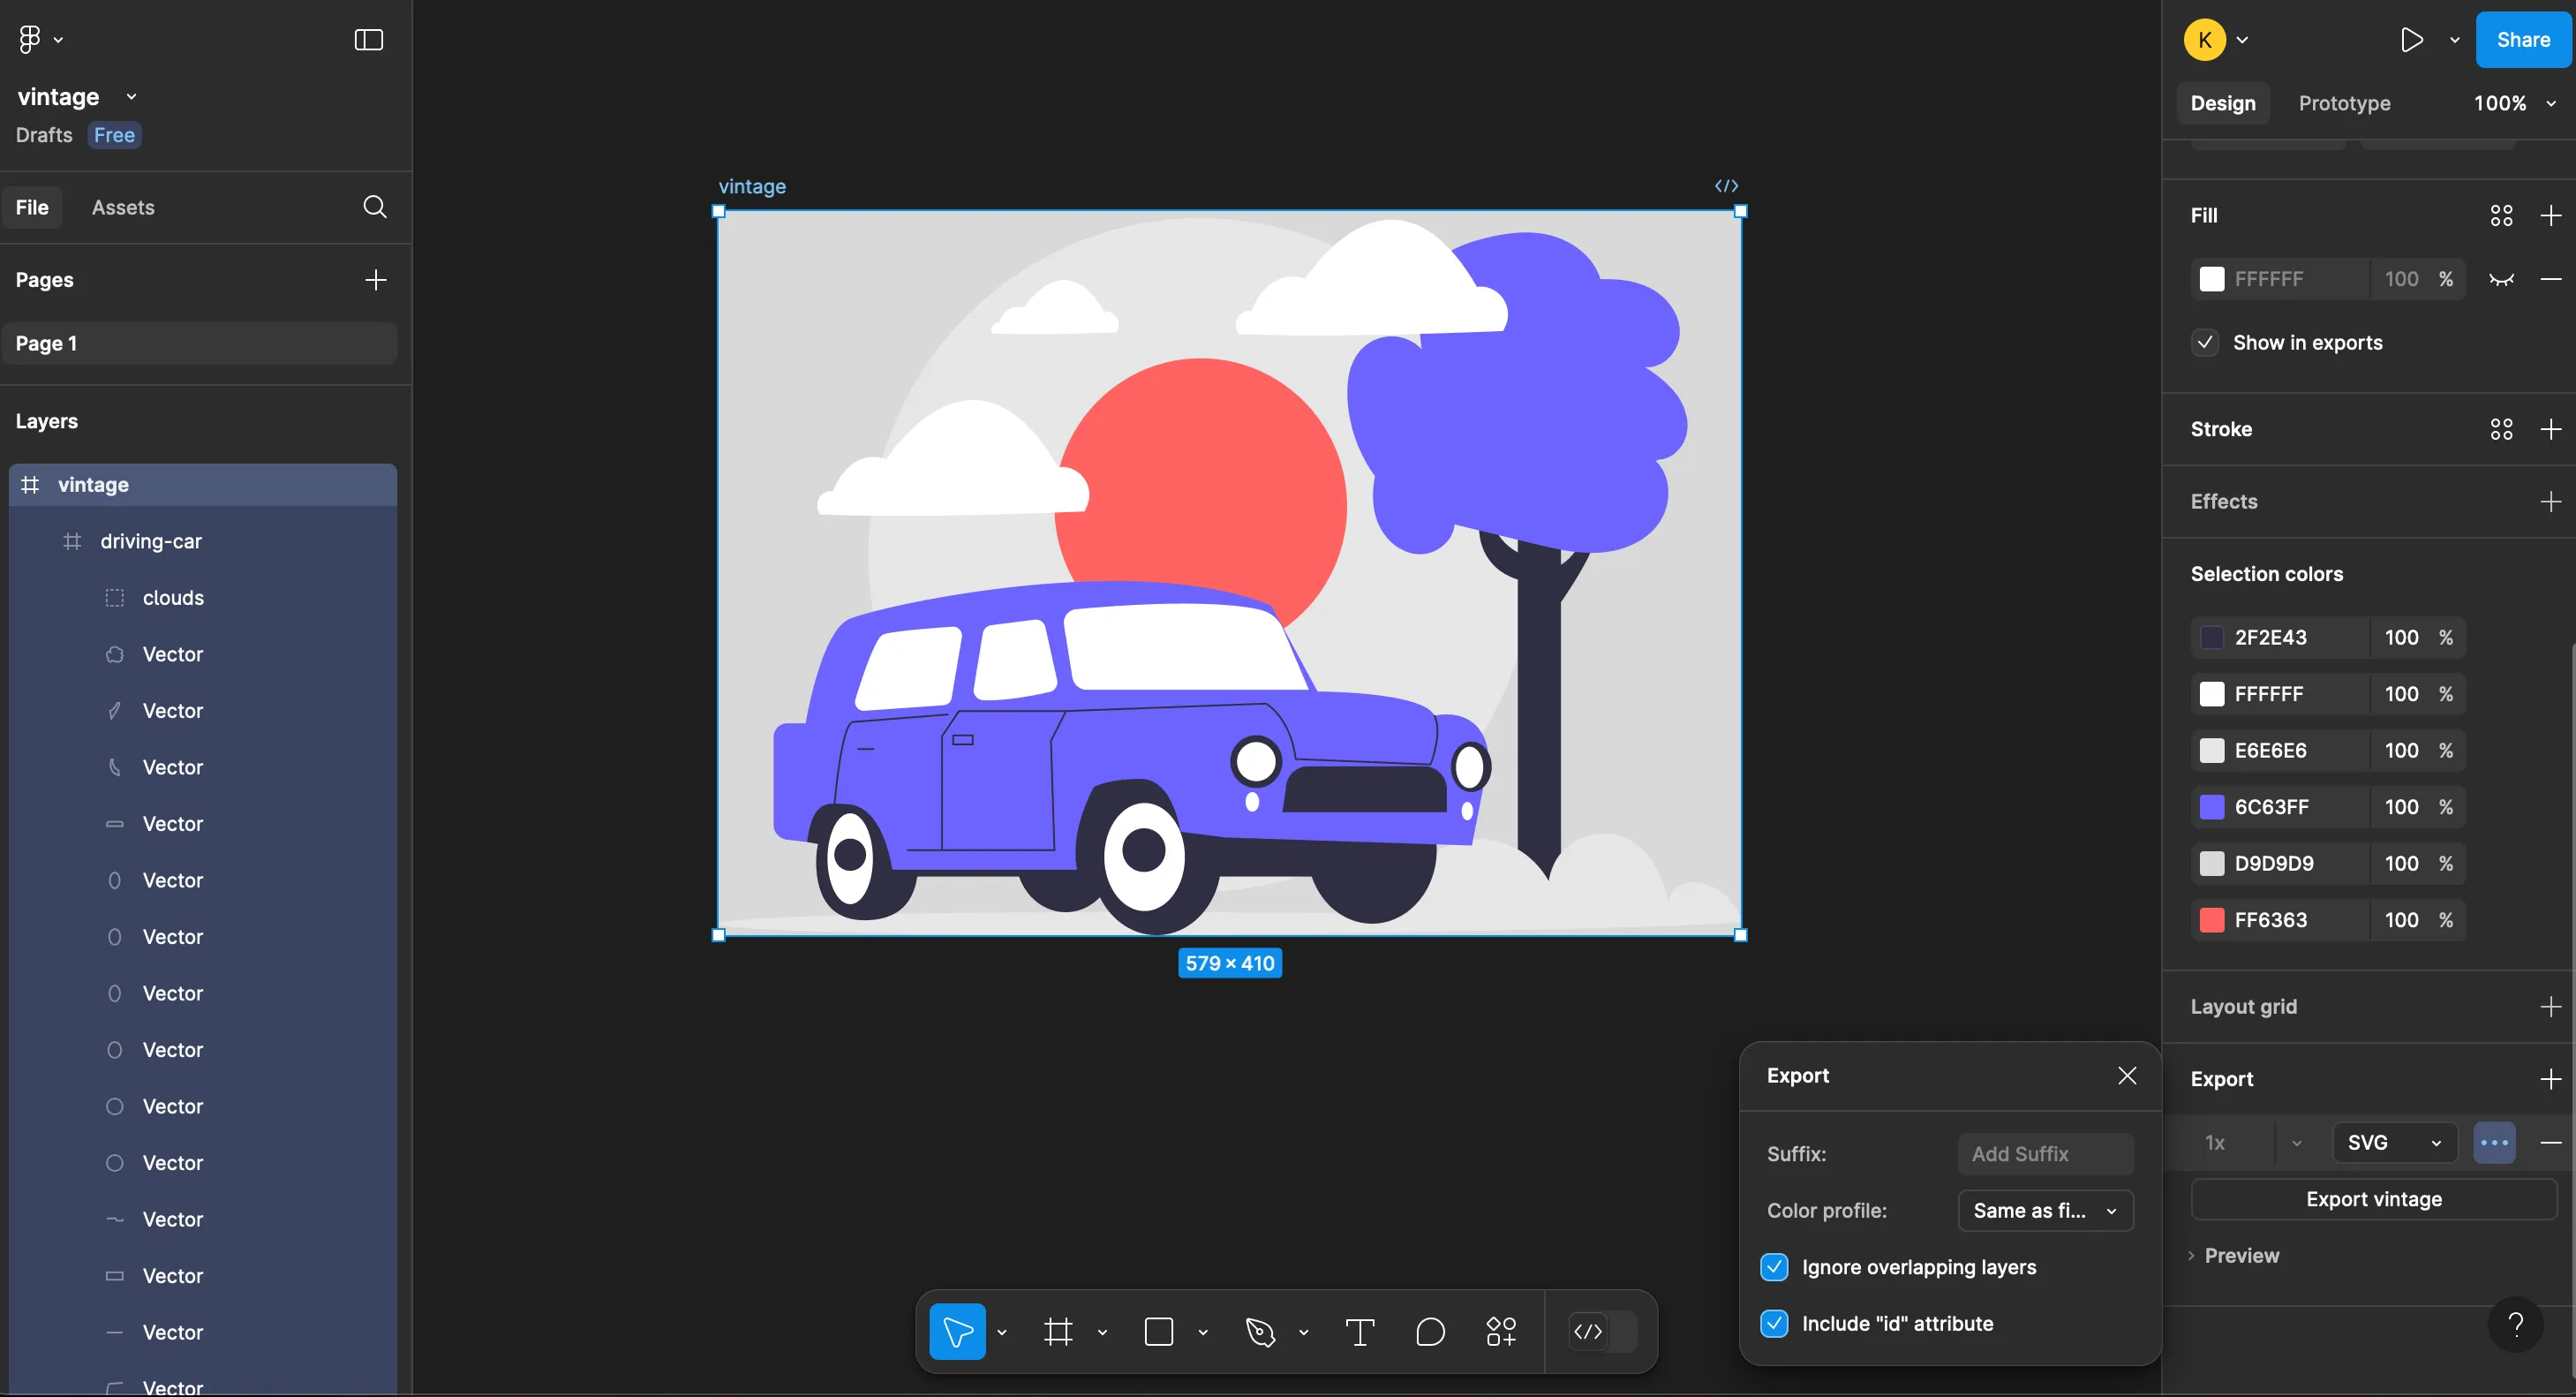
- Next, open up Visual Studio Code and create a index.html file, style.css file, link up your css file and add your svg file as well. Then take all the contents of the SVG file and put it in the body of the index.html file. If you exported the SVG correctly, you should see id selectors in your html.
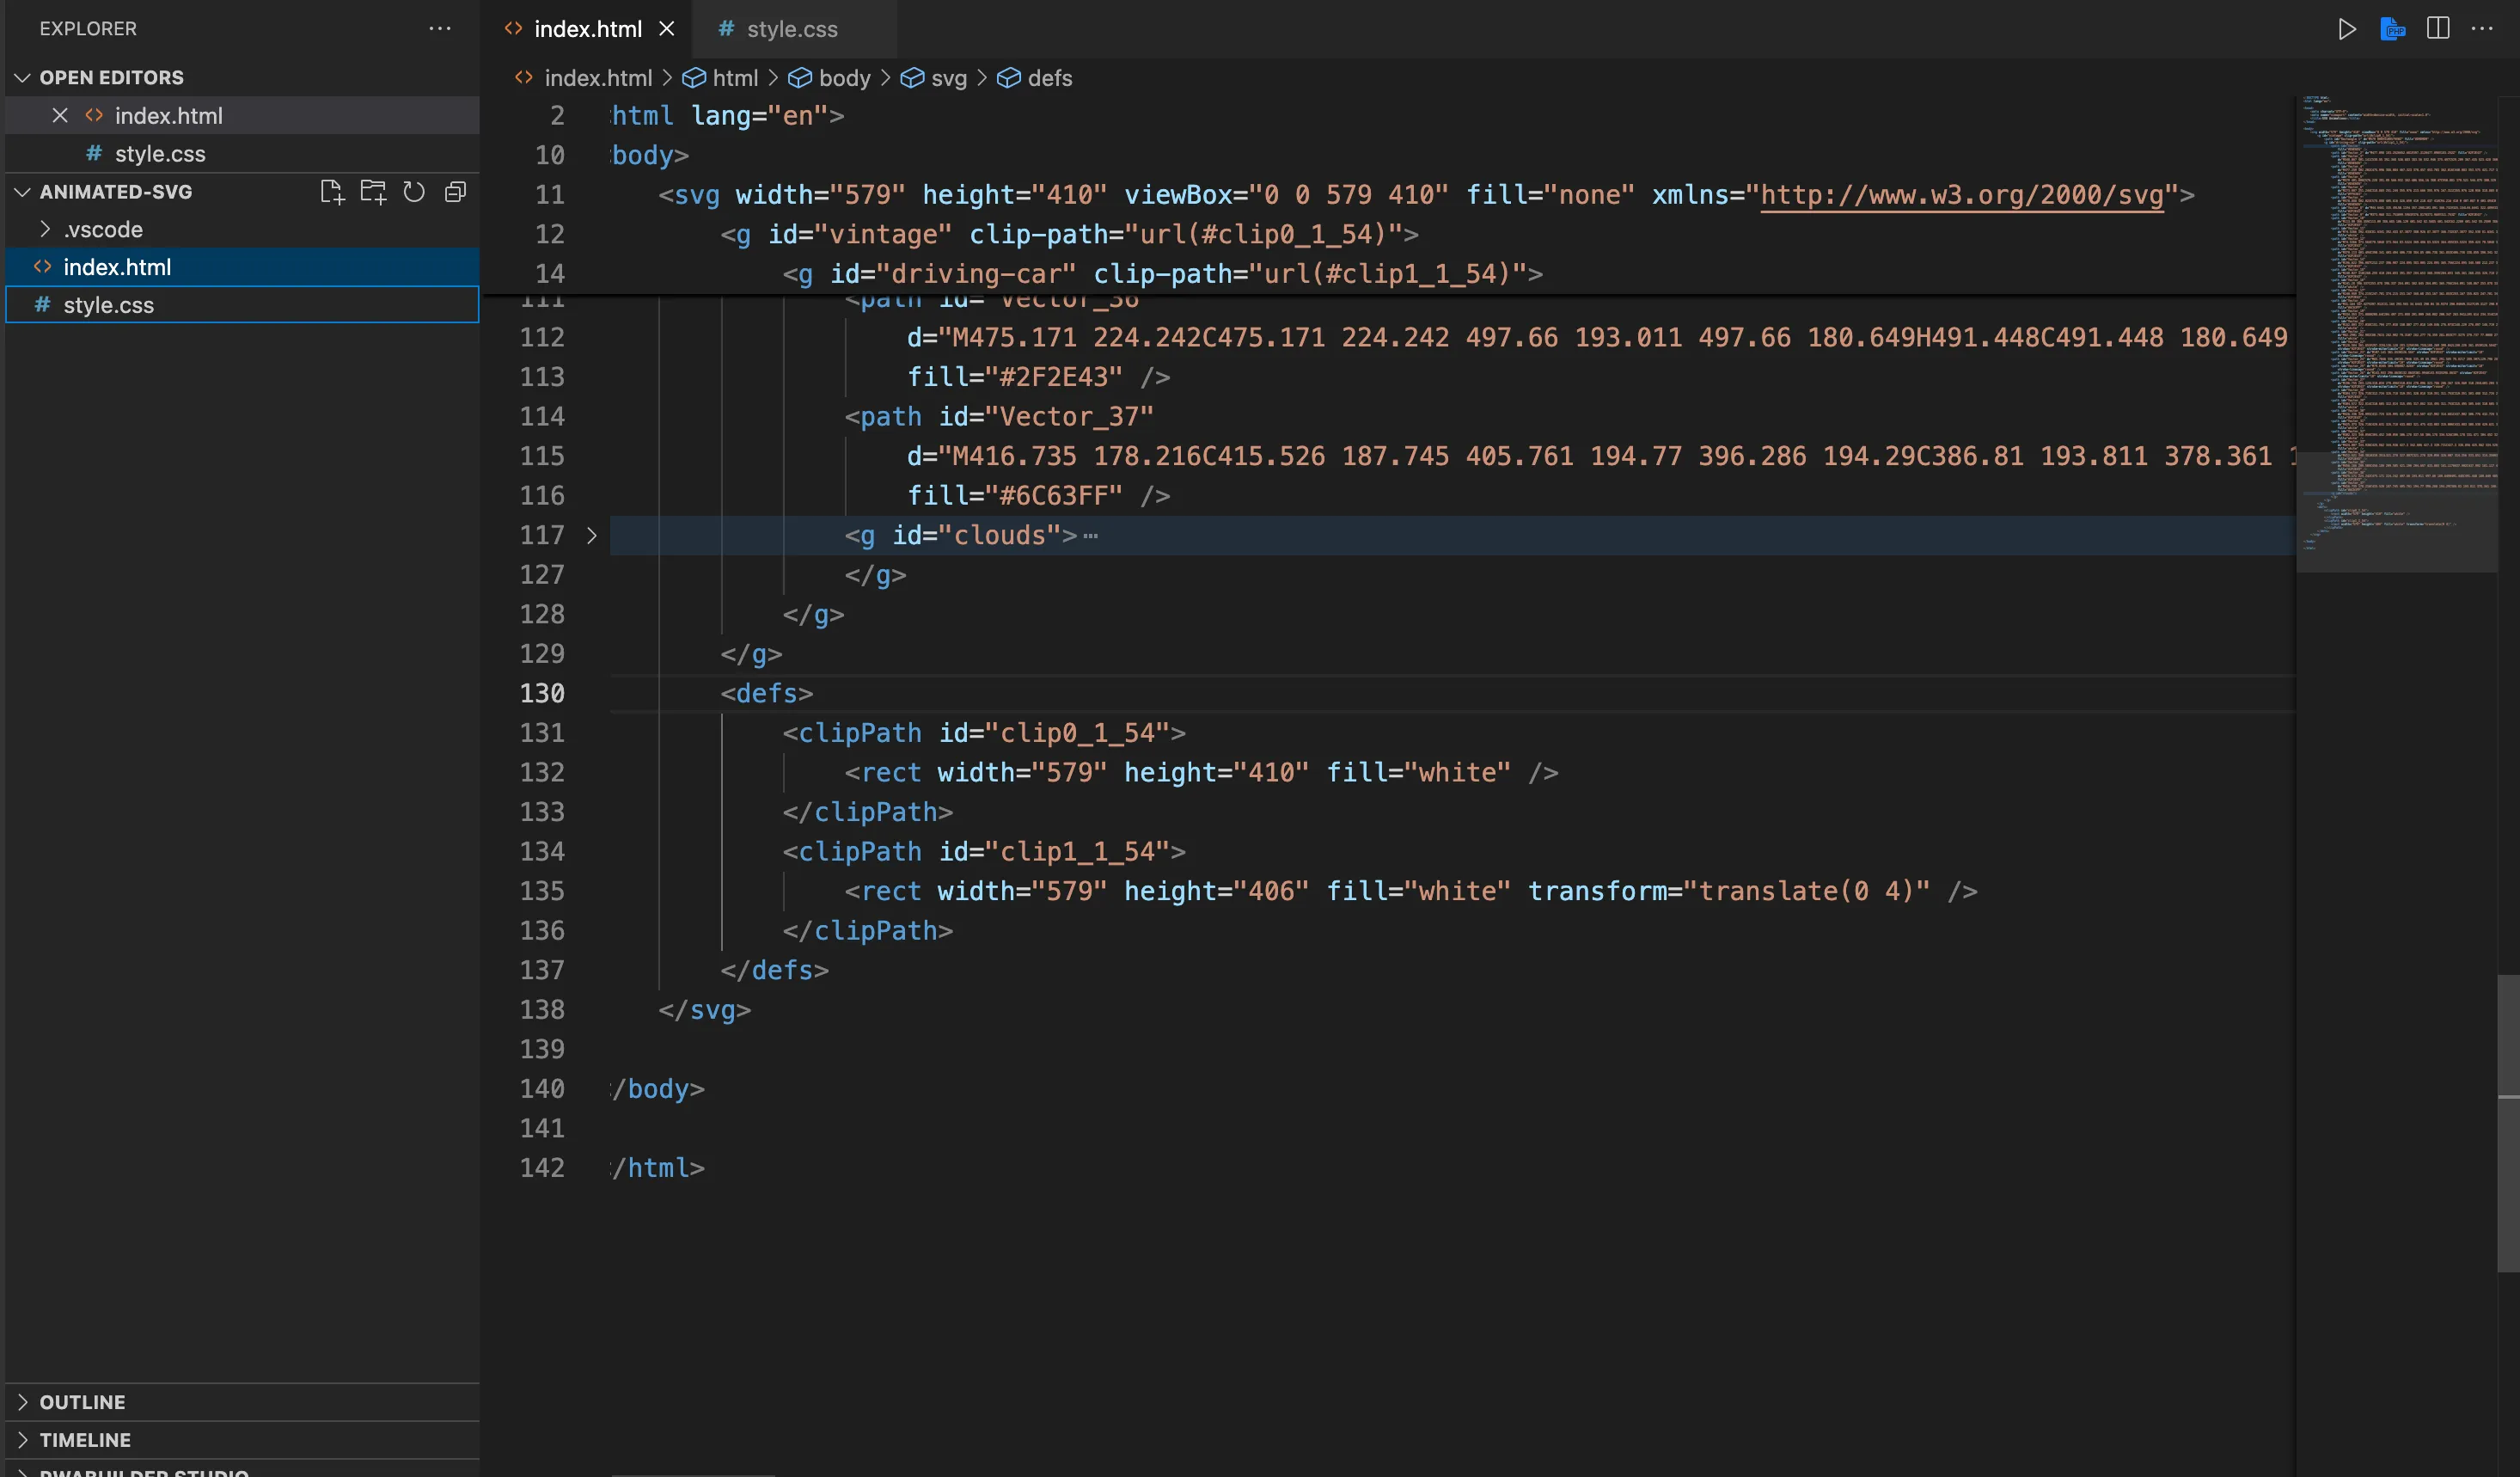
- Next, we are going to add our styling using css keyframes. Here is the code we are going to add to the style.css:
@keyframes movingClouds {
    from {
        transform: rotateX(0deg)
    }
    to{
        transform: rotateX(30deg)
    }

}

#clouds {

    /** we target the id selector, 'clouds' and create an css animation
     using the movingClouds keyword we defined in our keyframe above **/

    animation: movingClouds 2s ease-in-out infinite alternate ;
}
- The final result should look something like this with the added css:
SVG Animation: SVG CSS Animation